 So, it seems to be time to think about Christmas flavours, what with the Gingerbread ice cream last Friday and now this…
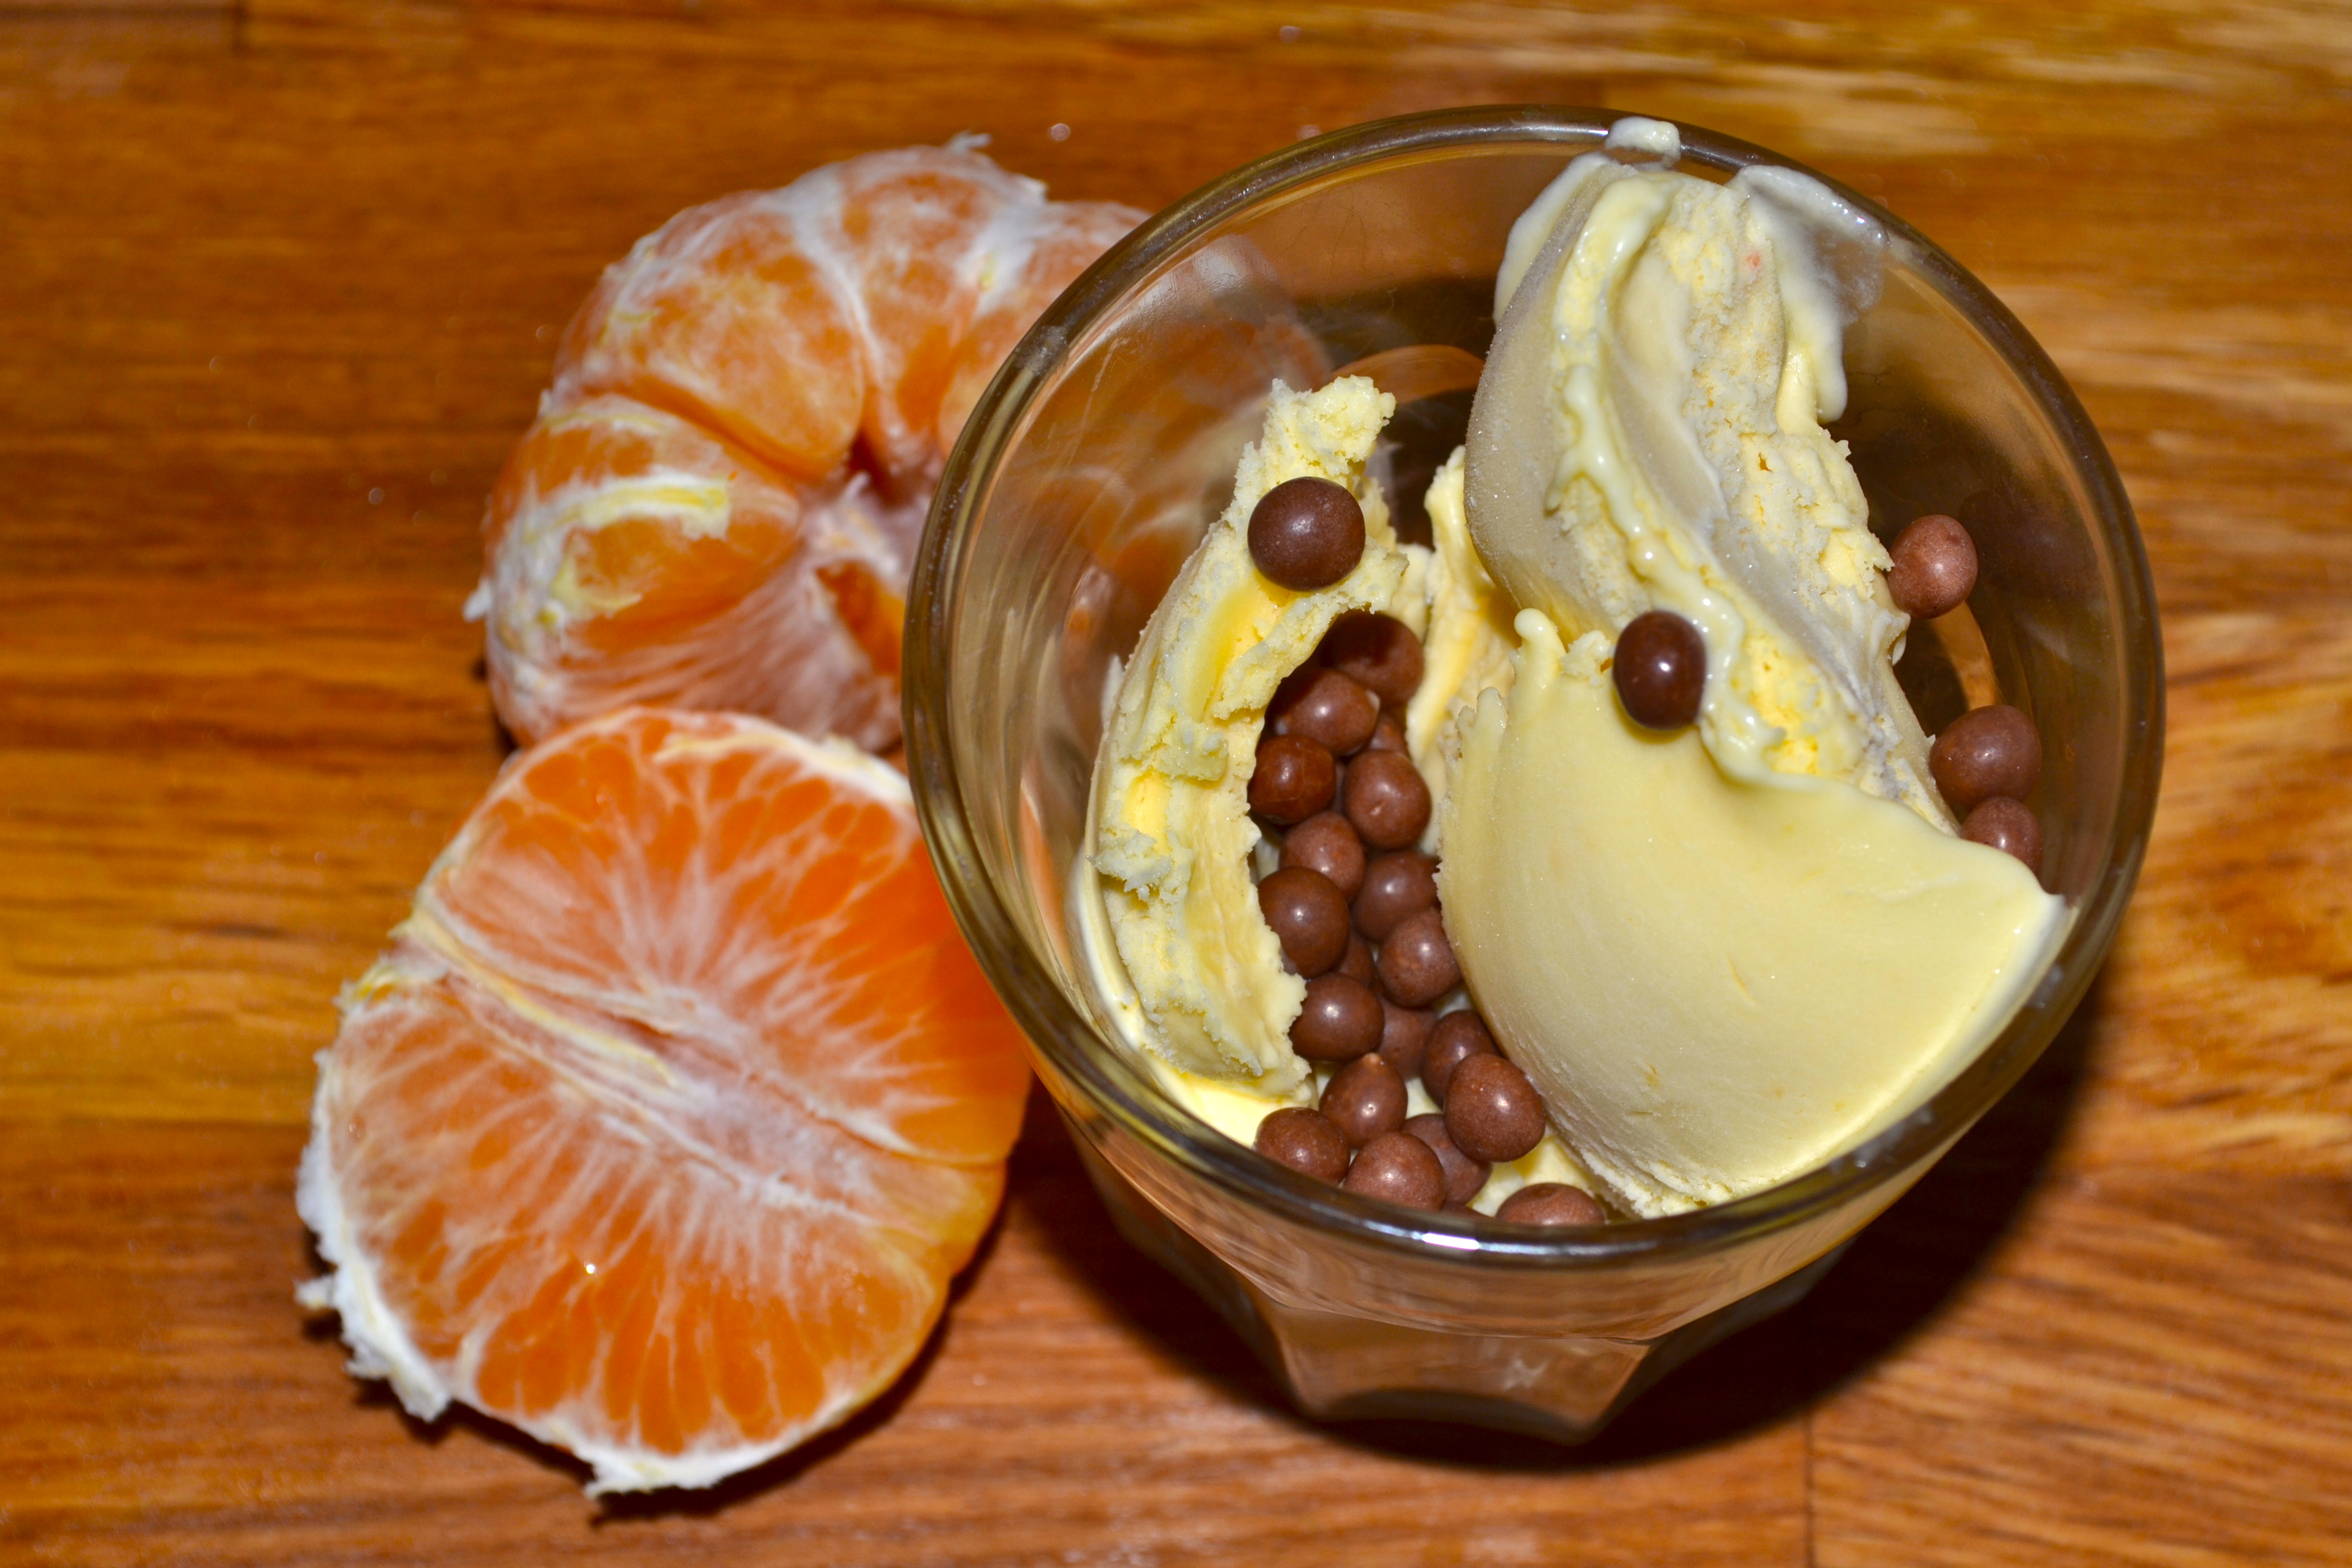
I don’t know about abroad, but in Norway, clementines are really big in December. Just the smell of them being peeled is almost enough to put me in a Christmas mood.
When I went about looking for fun things to do, I discovered this Burnt orange ice cream recipe. I ultimately ended up adapting this recipe.
A little known fact that we discovered – clementines can be a bitch to zest – so you get as much as you’re willing to do.
Ingredients
350 ml cream
350 ml milk (It specifies whole milk, but you can definitely use a lower-fat milk.)
2 tbsp clementine zest (How many clementines you need really depends on how easy they are to zest. We used 6-8)
150 g sugar, divided
120 ml fresh-pressed clementine juice
5 large egg yolks
1/4 tsp salt
1 tsp vanilla extract
How to…
1. In a pot, combine the cream, the milk and the zest and bring to boil.
2. Remove from heat, cover and let the zest infuse into the milk for 30+ minutes.
3. Combine 100 g sugar with the clementine juice in another saucepan and bring to boil. Stir until the sugar has dissolved.
4. Once the sugar has dissolved, stop stirring. Let it boil, swirling the pan occasionally. The sugar should become a deep golden caramel (according to the recipe, ours ended up a pale syrup.)
5. Remove the caramel pan from the heat and add 150 ml of the cream mixture to it.
6. Whisk until smooth.
7. Add the rest of the cream slowly, while whisking.
8. Bring the base back to the stove and cook on low heat, whisking until the caramel has dissolved into the cream and the mixture is hot.
9. Take the pan off the stove.
10. Whisk together the egg yolks, salt and the remaining sugar in a bowl big enough to hold the eggs as well as the caramel mixture.
11. Add the caramel mixture to the eggs slowly, while whisking constantly. (If you do it quickly, you’ll end up cooking the eggs before they can mix into the caramel and your custard ends up curdled.)
12. Return the mixture to the saucepan and cook over moderate heat. Stir constantly with a wooden spoon until the mixture is thick enough to coat it. Don’t let it boil.
13. Pour the custard through a sieve into a clean bowl.
14. Add the vanilla.
15. Cool to room temperature before refrigerating. (The mix should be completely cold before putting it through an ice cream maker. I discovered that refrigerating the base overnight gives me the best result for the ice cream, though not instant gratification…)
16. Freeze custard in ice cream maker.